
Common shading mistakes and how to fix them! The shading tool kit
Share
Hey! I’m Luke Lewis, and I run Lukesfinearts—where I help kids, teens and adults unlock realism and push past the mental blocks that often come with learning to draw. One of the most common challenges I see in my classes is shading.
Shading is a powerful tool in any artist's skillset. It gives your drawings depth, texture, and realism—but when it’s done incorrectly, it can flatten your image, create mess, and make even well-drawn forms feel off. Fortunately, many of the most common shading mistakes are easy to correct once you know what to look for.
In this blog, I’ll guide you through those common traps, explain how to fix them, and introduce some tools and techniques to help your drawings come to life. Whether you're just starting out or you've been sketching for a while, I hope these insights support your artistic journey and give you the confidence to shade like a pro.
Let’s dive in.
Don’t press too hard: The power of light layers and control
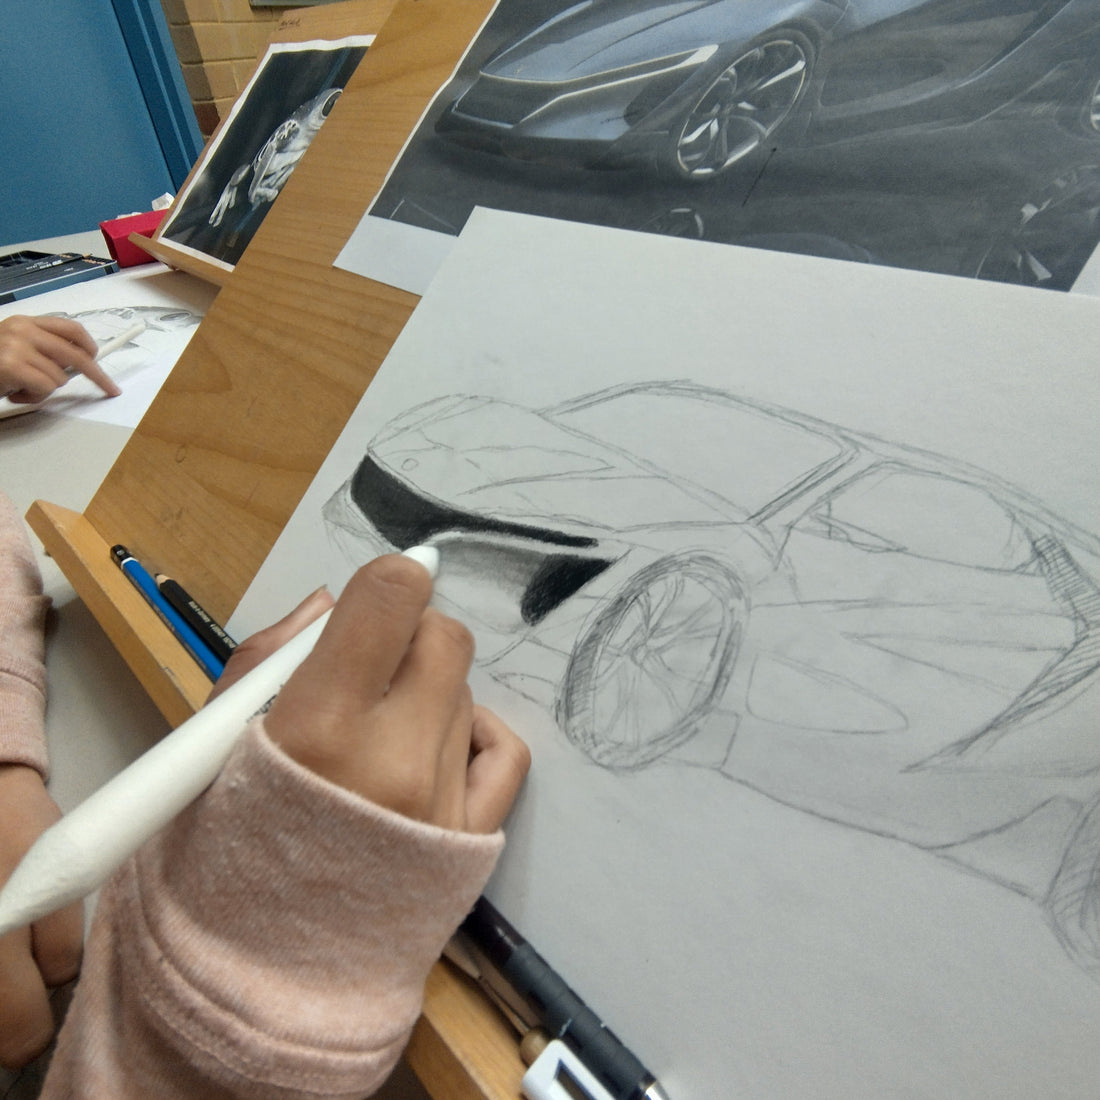
A frequent mistake—especially among beginners—is pressing too hard with your pencil or charcoal to get darker tones quickly. It might feel like a shortcut, but it often backfires.
Starting with light layers is not only gentler on your paper, but it gives you far more control. Light strokes allow you to gradually build up tone and make adjustments without committing to marks you can’t erase or blend.
Think of it like sculpting: you wouldn’t start chiselling marble with your strongest blow—you’d work gradually to shape the form. Drawing is the same. Light layers act like scaffolding, giving you structure and flexibility.
The downsides of pressing too hard early:
-
Smudging: Heavy strokes deposit too much graphite or charcoal, which easily smears.
-
Loss of control: Hard marks are stubborn and don’t blend smoothly, leading to patchy results.
-
Paper damage: Applying too much pressure can indent or tear the surface, making smooth shading nearly impossible later on.
Achieving smooth, seamless shading
Shading can either elevate your drawing or break the illusion of realism. Uneven, streaky shading is a common frustration, but it can usually be fixed with the right approach and tools.
Tips for smoother shading:
-
Use light, consistent strokes and layer slowly.
-
Avoid scribbling or random pressure—be deliberate with each stroke.
-
Keep your pencil sharp for cleaner lines and tighter control.
-
Blend gently (we’ll talk more about that below).
Even pressure and good technique are your best allies. As you practise, you’ll start to develop a natural rhythm—and your shading will begin to feel more like painting with pencil.
Blend like a pro: Tools that make a difference
Blending tools can be the secret ingredient to polished, professional-looking shading. Each tool offers a different texture, control level, and outcome. Let’s look at some of the most helpful ones:
Blending stumps (also called tortillons)
These are tightly rolled paper tools with pointed ends that are great for precise blending. Perfect for smoothing shading in small areas or softening edges without losing detail.
Pro tip: Keep a small piece of sandpaper handy to clean the tip. A dirty blending stump can muddy your tones or leave behind unwanted smudges.
Cotton buds (or Q-tips)
Cheap and accessible, cotton buds are fantastic for blending small, delicate areas like eyes or lips in portraits. They produce a soft, subtle texture and are easy to control.
Tissues
Tissues are brilliant for soft, even blends across larger areas. Wrap the tissue around your finger or a pencil and use gentle circular motions. Make sure it’s a clean, dry tissue to avoid streaks.
Makeup brushes
Soft, fluffy makeup brushes (especially those meant for eyeshadow or contouring) are surprisingly effective. They create smooth transitions and are excellent for creating that airbrushed look in backgrounds or subtle tonal gradients.
Each tool has its place. Experiment to see which works best for your style—and remember, no tool replaces good shading technique; it simply enhances it.
Why you shouldn’t use your fingers for blending
While it might seem convenient, blending with your fingers is something I strongly discourage—and here’s why:
-
Oil transfer: Your skin contains natural oils that can leave residue on the paper, making it harder to shade cleanly.
-
Lack of control: Your fingertips are bulky and uneven, so you won’t get the same precision as a stump or brush.
-
Smudging risk: Fingers tend to push graphite around too aggressively, making your work look dirty rather than blended.
So even though it's tempting—especially when you're just getting started—try to train yourself to reach for the right blending tool instead.
Keep your tools clean: A habit worth building
A small but powerful tip: clean your tools regularly. Whether it’s your pencils, blending stumps, or brushes, graphite build-up can affect the look and feel of your shading.
Dirty tools can leave unintended marks, muddy your shading, or even introduce gritty textures into your artwork. Taking a few seconds to wipe or sharpen your tools before use keeps your shading clean and consistent.
Master light direction for realistic shadows
Understanding where your light source is coming from is one of the most important skills in shading—and one of the most overlooked.
Imagine you’re drawing a sphere:
-
If the light source is coming from the top-left, then the bottom-right will be your darkest area.
-
The top-left will be your highlight.
-
Somewhere in between will sit your midtones, soft transitions, and the core shadow (where the form starts turning away from light).
Knowing where the light hits helps you place shadows and highlights accurately. If you don’t think about your light source, your shadows will end up inconsistent—and that breaks the illusion of realism.
Whether it’s a face, a hand, or a tree, always ask: Where is the light coming from? Once you know, all your shading decisions become much easier and more effective.
Final thoughts and key takeaways
Let’s quickly recap the main points from today’s blog:
-
Start light: Gentle layers give you flexibility, control, and cleaner results.
-
Avoid patchy shading: Build gradually and blend with intention.
-
Use proper tools: Try stumps, tissues, cotton buds, and makeup brushes for better blending—and avoid using your fingers.
-
Clean your tools: Dirty tools create dirty results.
-
Understand your light source: Good shading depends on consistent, logical light direction.
Shading is one of the most exciting parts of drawing—it’s where your forms start to feel alive. The more you practise these techniques, the more confident and expressive your art will become.
Want to improve even faster?
Download my free shading practice sheet—a handy guide with gradient exercises and simple form shading examples to help you sharpen your technique. It’s a great way to build muscle memory and take your art to the next level.
Let’s keep learning together. As always much love and happy drawing!
— Luke Lewis