The Art of Blending with Blending Stumps: A Guide to Mastering the basics.
Share
When it comes to achieving realistic depth and smooth transitions in pencil drawings, sometimes it pays to give homage to the basics. In a world where we have all the information at our fingertips, it can be easy to get so bogged down in techniques and tips that don't really matter. In this blog I am going to tell you everything I know and hopefully everything, you need to know about the humble blending stump!
The blending stump is a powerful tool in an artist’s kit. Whether you’re a beginner or a seasoned artist, understanding how to use, clean, and care for your blending stump can make a world of difference in your work. But first off if you ont even know hat a blending stump is, let's get down to the absolute basics.
What is a Blending Stump?
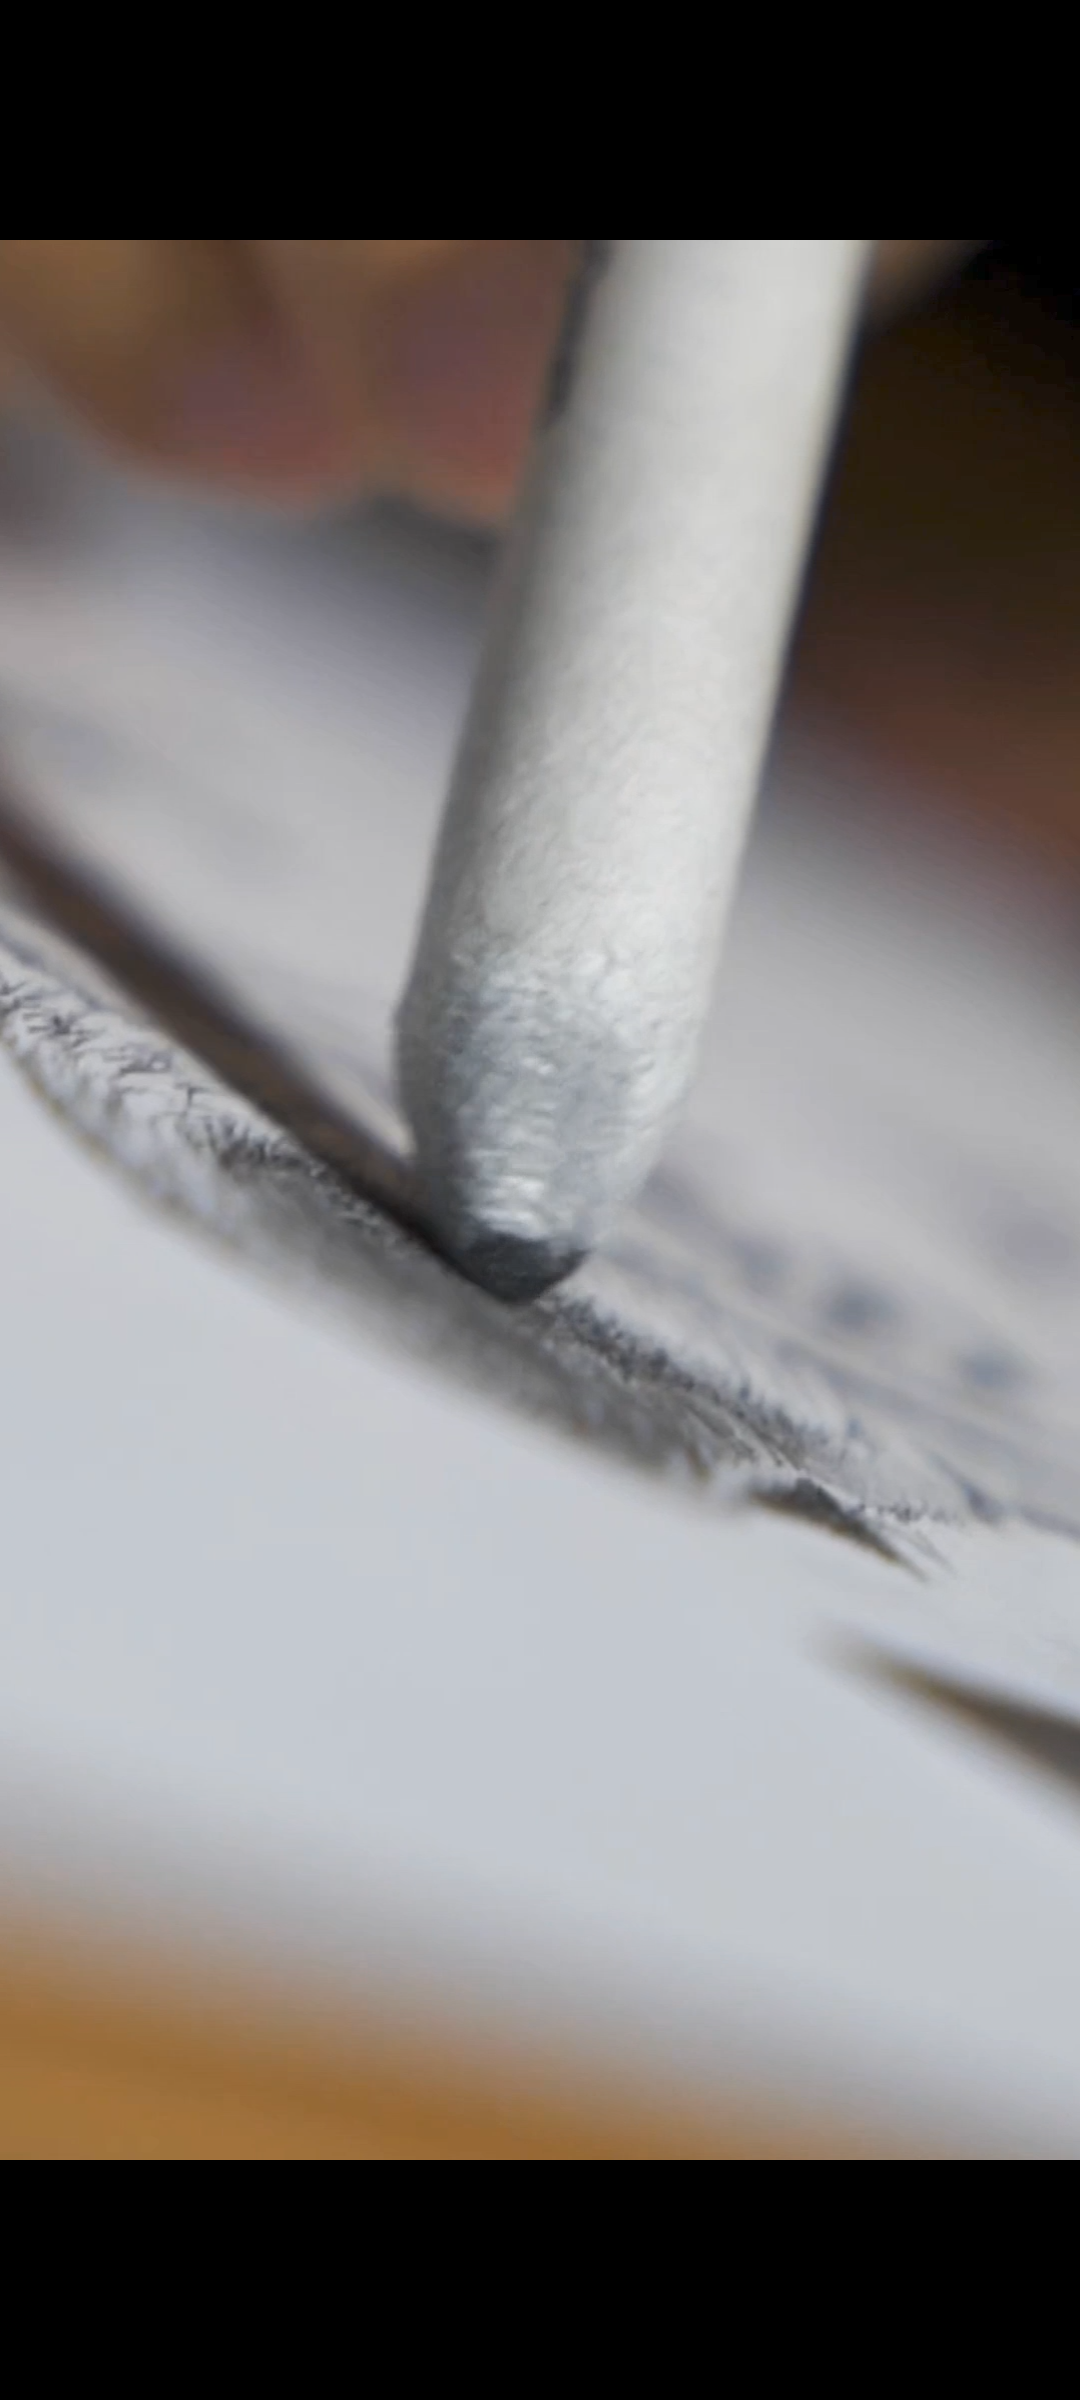
A blending stump, sometimes referred to as a tortillon, is a small, tightly rolled piece of paper that comes to a point at each end. Designed specifically for blending, it’s soft yet firm, allowing artists to spread graphite, charcoal, and other drawing mediums smoothly across the paper. When I am teaching my students I often try to get them to envision using a pencil like applying small amounts of powder onto paper and the blending stump is a tool to push that powder around. Unlike tissues or makeup brushes, which offer softer blending effects, blending stumps provide more precise control, helping you to achieve subtle gradations in your shading and realistic textures on your drawings (if that's what you are going for!).
The Primary Use of a Blending Stump
In graphite pencil drawing, blending stumps are used to soften edges, smooth transitions of shadows, and create effects with a range of tones from dark to light. By using a blending stump, you can seamlessly transition from one value to another, which is essential for creating depth and dimension, especially in realistic work. For example, when drawing a portrait, a blending stump can help you create the smoothness of skin, shadow transitions, and delicate facial details. However blending stumps are not the be all and end all, they have some restrictions that are important to know.
A Word of Warning
While blending stumps are excellent for creating smooth tonal transitions, they can also have a downside if overused. When used too heavily, blending stumps tend to spread graphite evenly across an area, which can leave parts of your drawing in a midtone range of darkness. This effect flattens contrast, making it difficult to capture perspective and the three-dimensional look that’s essential in realism.
If an area of your drawing is too consistent in tone, it lacks the variation in highlights and shadows that give it depth. Without enough contrast, different elements of the drawing can start blending into each other, which limits the illusion of form and distance. To avoid this, try using blending stumps sparingly, focusing on areas where you need smooth transitions rather than over large sections.
Preserve your highlights!!!
Additionally, be careful not to blend over your highlighted sections. Highlights play a crucial role in creating depth and structure in your work, so preserving them is key. When finishing a blended area, it’s often a good idea to go back over the darkest sections with a dark pencil to restore contrast, helping those areas stand out against the lighter tones. By balancing highlights, midtones, and shadows, you can achieve a more dynamic and three-dimensional effect in your drawing.
How to Clean Your Blending Stump
As you use your blending stump, it will gradually pick up graphite and other media. Sometimes you might want a saturated blending stump, for example when working on multiple dark sections of a drawing or sketch, having. A darker blending stump will work in your favour. But if you jump from that dark section to a very light part of your drawing, a saturated blending stump is not your friend. There are multiple ways around this, you can keep certain blending stumps for certain areas, for example one blending stump with very dark saturation for the dark parts and clean blending stumps for light areas or you can clean your blending stumps regularly and stop being a lazy artist. Regular cleaning helps maintain the stump’s effectiveness and ensures your blends remain smooth and controlled.
Here are two ways to clean your blending stump:
1. Using Sandpaper: Sandpaper is an ideal tool for restoring your blending stump to its original state. Simply hold the stump at an angle and gently rub it against the sandpaper until the outer layer of graphite is removed, and the tip becomes sharp and clean again. This method works well for deeper cleaning when your stump is heavily saturated with graphite. You can buy small boards with multiple layers of sandpaper available at most art stores or online.
2. Using Paper: If your blending stump only has a light buildup of graphite, you can simply rub it on a clean sheet of paper. Hold the stump at a low angle and stroke it back and forth until it releases any excess graphite, and the tip looks fresh again. This is a great quick-clean method to maintain your stump during a drawing session.
Pros and Cons of Using Blending Stumps
Like any tool, blending stumps have their advantages and limitations. Understanding these can help you decide when and how to incorporate them into your art practice.
Pros of Using Blending Stumps:
- Control: Blending stumps offer excellent control for detailed areas, allowing for precise blending in small spaces like the eye’s edge or under a nose.
- Depth Creation: Blending stumps help achieve smooth tonal transitions, which is essential for realistic shading and creating three-dimensional effects.
- Texture Variety: Blending stumps can be used to produce a range of textures, from soft skin to rougher surfaces, depending on the pressure and technique used.
Cons of Using Blending Stumps:
- Saturation: Over time, blending stumps can become oversaturated with graphite or charcoal, which can lead to muddy or overly dark blending if not cleaned properly.
- Risk of Flattening Detail: If used excessively, blending stumps can flatten intricate details, making certain areas look too smooth or lose their natural texture.
- Reflective Marks: Pressing too hard with a stump can sometimes result in shiny or reflective marks, particularly when working with graphite. This can reduce the natural look of the drawing.
- Can remove texture: Sometimes when you are drawing something you might not want to use the blending stump. It is tempting sometimes to use the blending stump all the time. But if you are trying to achieve a rough surface, maybe the grain in the paper might actually help. If you over blend you might make a rough tree look smooth, which can hinder your realism massively.
Making the Most of Your Blending Stump
Blending stumps are powerful tools, but they work best when used with other techniques, like layering and light pencil strokes, to build depth and realism. Try experimenting with different pressures, blending directions, and cleaning methods to discover how a blending stump can enhance your unique style.
At the end of the day, blending stumps are an excellent asset for artists who love most forms of pencils drawing and especially realism. When cared for and used mindfully, they bring new possibilities to life in your artwork. So, pick up that blending stump, give it a clean, and explore what it can do for your art!
Much love and happy drawing
Luke Lewis from Lukesfinearts!
